Sunday 20 November 2011

Urban Foraging and Firelighters.

*blows dust off blog*

Hello, I am safe and sound but time gets away with me and I forget to post in here. 'Must try harder' was a true appreciation of my talents on my school reports ;)

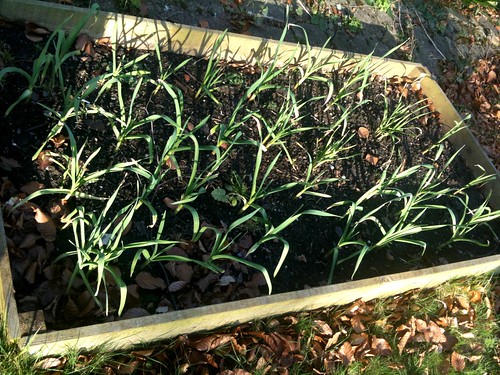
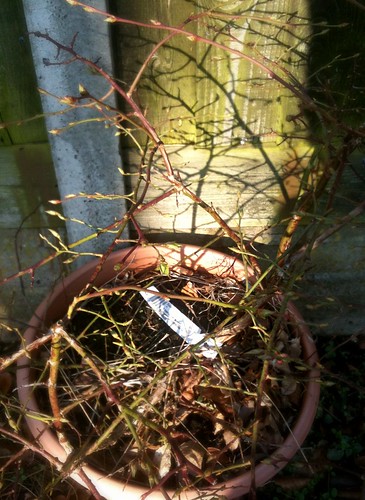
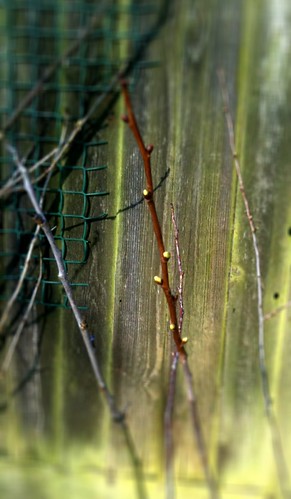
Well anyway, yesterday we went out for a quick walk around our local area looking for pinecones to turn into useful things.

Here are some pictures from the trip :)


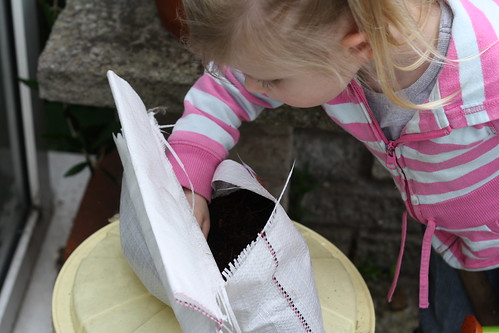
We're lucky to have an open fireplace to help supplement our heating over the winter. This year we have a lot of chopped kindling type wood from pallets and other wood we've collected from freecycle, plus some very large logs from our neighbour's beech trees that were chopped down this year. Last year we used some pinecones as firelighters along with my wax tart* leftovers and I thought it would be a good idea to combine the two this year. Plus anything that keeps my 4yr old interested for an hour is a bonus ;)

Wax tarts are like a cross between candles and oil burners. You can buy them from many supplers, I buy mine from http://candlewick-greens.com/index.html for two reasons, 1)they're superior to any other brand I've tried, 2) the woman who runs it is very lovely.

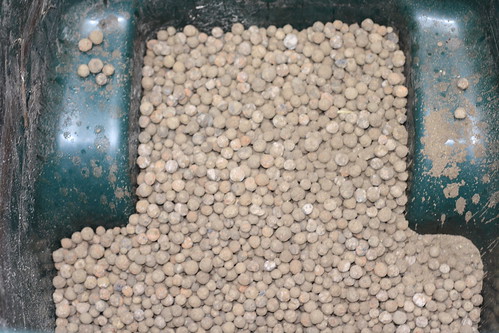
So take 2 bags of pinecones, a tub of leftover wax from tart burning, a saucepan of hot water, a glass bowl and some greaseproof paper.

Photobucket

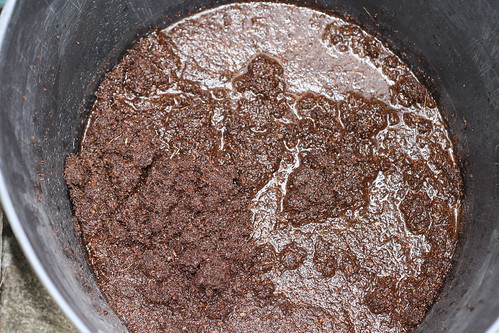
Heat the water in the saucepan, place the glass bowl over the water, break up the wax and allow to melt gently.

Photobucket

Photobucket


Take your pinecones and carefully dip them into the wax, hold them over the liquid wax and shake off the drips then leave to dry on a sheet of greaseproof paper.

Photobucket

Store in a bucket or trug next to the fire ready for winter.


Photobucket

Use.

Photobucket Pictures, Images and Photos

Sunday 3 July 2011

The Cake is a Pie

Quick Photo Blog for Toby's birthday last week. It was a quiet event due to everyone being ill the whole week before, but he seemed to enjoy himself nonetheless. I can't believe my little man is now 2, time goes so very quickly. Anyhoo...photos!

Wednesday 22 June 2011

Kawaii Kukki

It's my wonderhubby's birthday tomorrow and I've been trapped in the house all week with two poorly sproglets and no cake ingredients. After staring blankly at the cupboards for half an hour I realised I had enough ingredients to make a batch of cookies...so....

Giant cookie

Then some plain old sugar icing with some gel colouring

Giant Totoro Cookie

The recipe I used is from a forum I frequent, it is named as 'Phoebe's Fabulous Oatmeal-Raisin Cookies' which I think is a Friend's reference. *shrugs* The cookies are fabulous though. Some cocoa powder and peanut butter stirred in gives a nice variation too. Anyhoo recipe tiem


Phoebe's Fabulous Oatmeal-Raisin Cookies

12 tablespoons (175g) unsalted butter, softened
3/4 cup (160g) firmly packed light brown sugar
2/3 cup (130g) white sugar
1 large egg
1 teaspoon vanilla extract
2 cups (170g) rolled oats
1 1/4 cup (160g) plain flour
3/4 teaspoon baking soda
3/4 teaspoon baking powder
1/4 teaspoon salt
1 1/2 cups (200g) raisins

Preheat oven to 375F/190C/Gas Mark 5.

Cream butter and sugars together until light and fluffy. Add egg and vanilla extract; beat until well combined.

In a separate bowl combine oats, flour, soda, baking powder and salt. Mix into butter mixture until just combined. Stir in raisins.

Drop the dough by heaped tablespoons onto ungreased baking sheets, leaving a 2" gap between each mound.

Bake for 12-15 minutes until golden brown. Cool on sheet for at least a minute before transferring to a rack.


For the giant cookie, I used a pizza baking tray with some greaseproof paper on top and just threw the whole lot on top and swuished it so it left about an inch gap all round. This gave it a bit of room to spread out.

Baked it for 25 minutes at 190 and then left to cool completely before icing :)

Thursday 2 June 2011

Quick catch up

Spent a quick half hour tidying some bits in the veg patch this evening and thought I'd share some progress pics. The bits in the greenhouse are slow going but everything else is going great guns.

Hops


Olive


Blueberry


Sweetcorn


Beans


Whitecurrants


Redcurrant


Apples


Garlic


Part of tomorrow's dinner :)


- Mobile post

Monday 30 May 2011

It's just like riding a bike...

Hi, my name is Dawn, I'm 33yrs old and I have never ridden a bicycle.

Not knowing how to ride a bike is something that has partly defined me for the whole of my life. It's just one of those things that crops up repeatedly and I have to explain yet again that no I don't know how to ride, I never learnt as a child, blah, blah, blah. I am very bad at doing things that I'm not very good at, I avoid situations that embarrass me and do my best to ignore things that make me feel silly.

Anyway, I saw this course advertised via twitter this week - http://www.leics.gov.uk/connect2_events and I emailed to be put on the waiting list.

In the meantime I'm going to try and teach myself with the aid of the internet, a husband who promises not to laugh too much and this

Triumph 20 Shopper

It needs a new brake cable and a some TLC but it's in pretty good nick for an old bike.

Wish me luck!

Wednesday 11 May 2011

Nobody loves me, everybody hates me

I'm going out to eat worms!

Blugh! Not really, but I have got a wormery. The wormery bin itself was gifted on freecycle. I had a quick google and saw that one of my favourite companies www.wigglywigglers.co.uk still sold the rescue kits for this type of wormery even though the unit itself was discontinued.

Wormery

That made my life a whole load easier ;)

So here's the photo by photo breakdown of putting a wormery bin together using a rescue kit.

Soak bedding block in some water for 20 mins.

Wormery

In the meantime, pop your drainage chips in the bottom of the bin

Wormery

Wormery

Place the woven liner on top, just like a binbag

Wormery

Grab some food waste for their first meal

Wormery

Make sure your helpers are watching

Wormery

Make sure your liner is spread out at the bottom of the bin

Wormery

and add the bedding block which should now look a bit like this

Wormery

Open up your package of worms

Wormery

Allow small person to stroke them and say hello

Wormery

Make a hollow in your bedding layer and tip the worms in

Wormery

Chuck your food waste on top, about a 3 inch layer

Wormery

Fold over the top of the liner and tie off

Wormery

Keep it like this for a week to keep the worms secure while they make a home for themselves. In a week I'll open it up, feed them again and pop a moisture mat on top. The liner can then be kept untied and the worms should live happily in the bin.

I'll take more photos and update in a week :)

Monday 25 April 2011

Hide and Go Seek

We've recently started Geocaching after a good friend recommended it as a fun thing to do with the sproglets. The sproglets love 'treasure hunting' and we're going to start working further out from home and planning geocaching trips whilst travelling to other places.

There's a good starter's guide here - http://www.geocaching.com/about/default.aspx . The 'caching community is incredibly friendly and helpful. If you'd like to add me as a friend on geocaching.com I'm Purplebint there too.


Profile for Purplebint

I currently use the app on my Iphone but I'm starting to look at dedicated GPS units as battery usage can be an issue.

We spent this morning geocaching in Bradgate Park. We're very lucky to live so close to such a beautiful place and it's been one of my favourite places since childhood.

Here's some photos from our trip out this morning. We planned to find two caches that were relatively close to each other, however there was a herd of deer enjoying the shade in the copse that contained one of the caches so we left them to it and will return another day!


Wednesday 20 April 2011

Lazy Photo Update

It's slow going with garden work at the moment. Two very active sproglets and Steve's new job means it's less of a priority than it should be. We're planning a good lot of work over the easter holidays so look forward to a more intensive update then.

For now, here's some garden photos from yesterday :)

Wednesday 16 March 2011

Charidee

A little bit of link spam here ;)

I'm currently doing the C25k programme and enjoying it immensely! I'm about to start week 3 and although it's causing me a bit of pain I'm feeling fitter and my stamina is improving day by day.

My sister asked me to run the Race for Life with her and we've signed up to run the 5km on July 10th this year at Leicester! Meep!

We're able to wear a dedication on our backs as we run and I'll be running for my friend Claire. Her bravery and honesty throughout her journey with cancer inspires me, breaks my heart and makes me love her.

I'm trying to raise as much as I can for cancer research so other people facing this disease have access to as much viable treatments as possible to help cure or delay the progress of the illness.

Please sponsor me if you can (and gift aid it) each penny really does help and also has the added benefit of keeping me motivated on days when I would rather eat chips* than go out and train.

*disclaimer - I am not giving up chips completely ;)

Click the image below to go to my sponsor page


Also, my wonderful friend Sarah Bell has organised, collated, created and printed a recipe book. It's an amalgamation of recipes made by family and friends for her handfasting last year and all moneys raised from it's sale are going to SANDS.

It has a few of my recipes in including my basic bread recipe and the infamous Mead.

You can read more about it here - http://www.freewebs.com/sarahholdcroft/recipebook.htm

Buy it from here - http://www.folksy.com/items/1201253-Handfasting-Recipe-Book-in-aid-of-SANDS?shop=yes

Thanks everyone x

Friday 4 March 2011

Off we go again

Finally today a bit of sunshine and dry weather!

Greenhouse being repaired

04/03

Garlic growing nicely in it's bed.

04/03

Blueberry and Morello Cherry starting to shoot.

04/03
04/03

Toby enjoying the outdoors

04/03


Inside we have both of the lime trees starting to bloom again, hopefully they'll be a bit more successful this year. This weekend is set aside for seed sowing, leaf raking and generally tidy-up-ness.

Thursday 3 March 2011

Easy Lime Pickle

Amended from a recipe at hungrymonster.com

Ingredients
  • 12 unwaxed limes
  • 75g coarse salt
  • 1 teaspoon fenugreek seeds
  • 1 tsbsp mustard seeds
  • 2 tbsps chilli powder
  • 1 tbsps turmeric
  • 180ml vegetable oil
Method
1. Wash each lime thoroughly and cut lengthwise into 8 slim wedges
2. Place in a large bowl - sprinkle with the salt and set aside.
2. Put fenugreek and mustard into a skillet or heavy bottomed saucepan and dry-roast over medium heat about 1 to 2 minutes until they begin to pop.
3. Put into a mortar and grind to a fine powder with a pestle.
4. Add the chili and turmeric and mix well. Sprinkle the spice mixture over the limes and stir gently.
5. Pour the oil over the limes and cover with a dry cloth.


Lime Pickle

6. Leave the bowl in a sunny place for approx 2 weeks until the limes have softened. This can take a little longer in a colder climate.


7. Pack in jars, seal them, and store in a cool, dark place.


Friday 11 February 2011

When life gives you lemons...

preserve them!

My meyer lemon twig (I might promote it to tree status if it gets a bit more growth on it) supported 4 tiny little fruits while they ripened and I had a good think about the best way to get the most out of them.

It was a tough decision between lemon curd and preserved lemons. The preserved lemons won as I will get more extended use from such a small harvest, plus they'll go really well with some of my slow cooker recipes.

These are my little lemons compared to two that were bought from our local market a while ago. I'm using the large ones up too as they're a bit past their best.


I used this BBC Good Food recipe as a base - http://www.bbcgoodfood.com/recipes/3555/preserved-lemons

I added some lime juice into the mix as I had some that needed using up and a mixture of table and rock salt to make up to the approximate quantity I needed.


I'm looking forward to being able to eat these!

Saturday 15 January 2011

Doing Up Hand Me Downs

I realised I hadn't blogged at all this year and didn't want anyone thinking I was slacking off ;)

Here's a quick photo post showing the painting of Abi's hand me down toddler bed. Toby was starting to climb in and out of his cot and it was becoming unsafe to keep him in there. Abi's bed had been stored in the garage for over a year so out it came.

Abi's toddler bed.

First Jolly Roger outline in chalk

Painting up the toddler bed for Toby

Matching bedside table

Twinkle twinkle little bat

Nanite