
This is the third, and possibly final tweak on our mead recipe. The last two batches have been half honey/half sugar solution in an effort to cut down on costs. However, we thought we'd give a full honey recipe a go and we have to say on first looks alone we're going to dump the sugar and keep going with this tweak.
It tastes divine already, and the brewing will only enhance the flavour :) If this tastes as good as I think it will then I'll be making this regularly and putting away bottles to mature ready for gifting :)
I'll try and work out a cost per litre too at some point, not today though as I need coffee before I can brain.*I has coffee and brainz, costings at the bottom of the post*
N.B. All amounts shown are imperial, not US.
To make 2 gallons-;
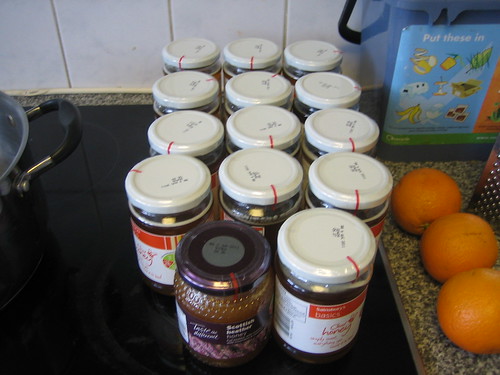
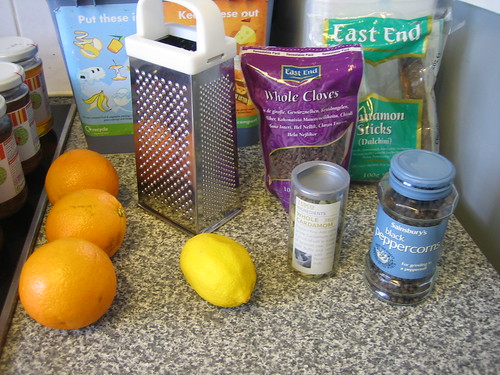
Assemble all the ingredients;
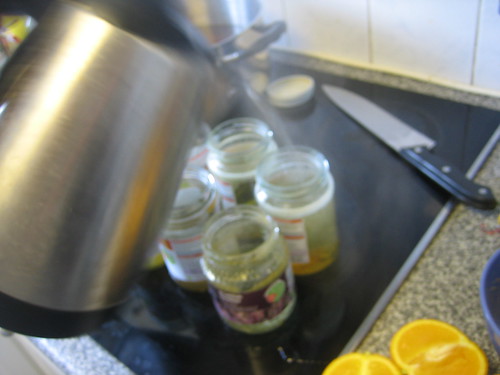
- 14 x 340g jars of honey.- I used 13 x Sainsburys basic, and 1 x Taste the Difference Clover honey.
- 3 medium oranges
- The zest of one lemon
- 2 cinnamon sticks
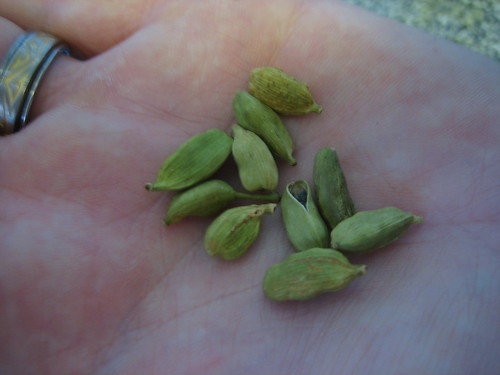
- 10 cardamom pods
- 10 cloves
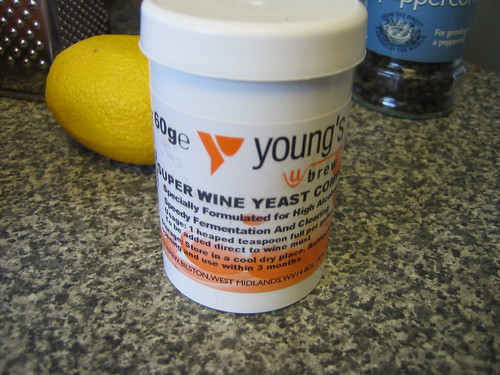
- 2 heaped tsp of yeast - I used champagne yeast for it's higher alcohol, can use any type
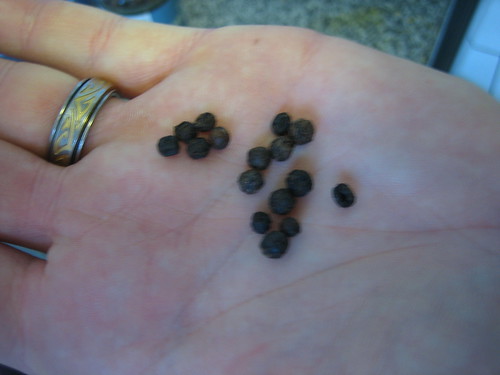
- 10 black peppercorns
- 4 bay leaves
- 2 x fermentation buckets or demijohns. They need to be airtight.

Lots and Lots of Honey.
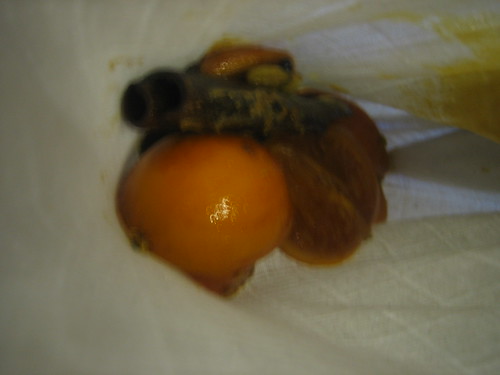
The not very secret spicy things
Wine Yeast
Our kitchen was really really cold, so to persuade the honey to come out of the jars easily we warmed them in a hot water bath for a minute or so first.

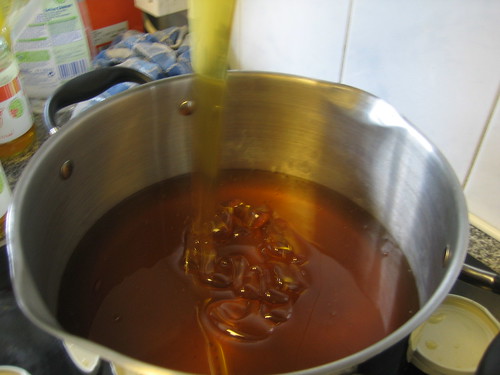
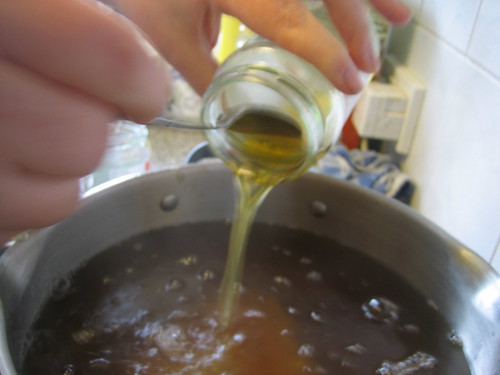
Lots and lots of honey being poured into our gallon stock pot.
Gloopy lovely honey
It was really quite pretty to play with
Adding the posh stuff

The colour variation is really quite striking
Add some boiling water to the jars to get the last of the honey out of the bottom
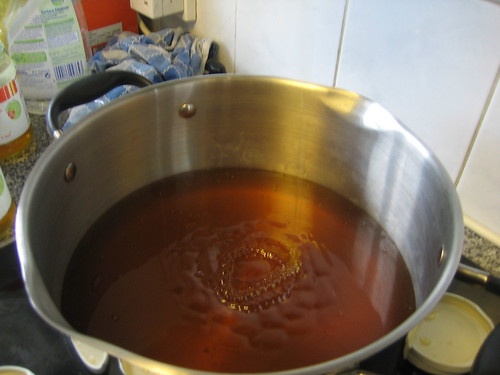
Pour all of this into the gallon stock pot.
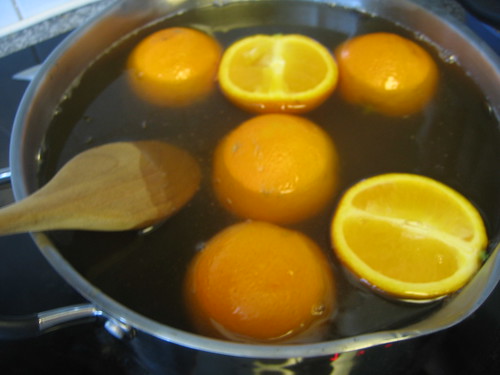
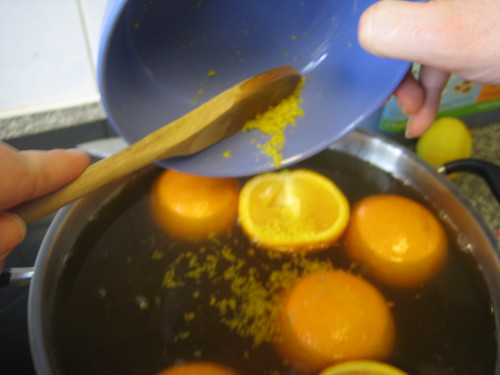
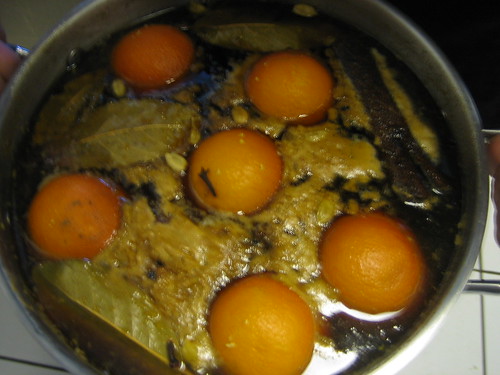
Add your sliced oranges
And the lemon zest
Throw the spicy bits in, cardamomomomom
and peppercorns
The bayleaves and cloves seem to have escaped being photgraphed, but you know what they look like ;)
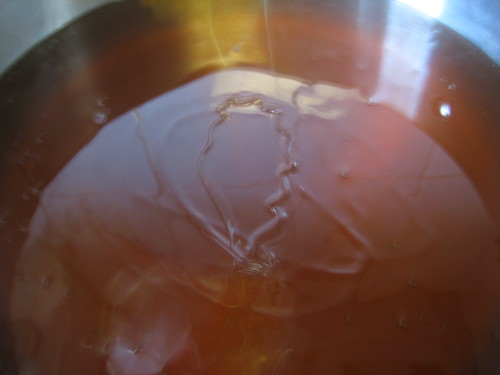
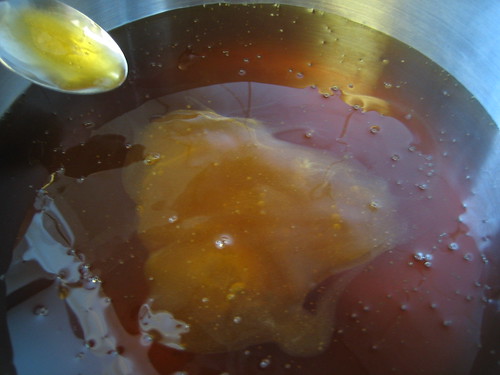
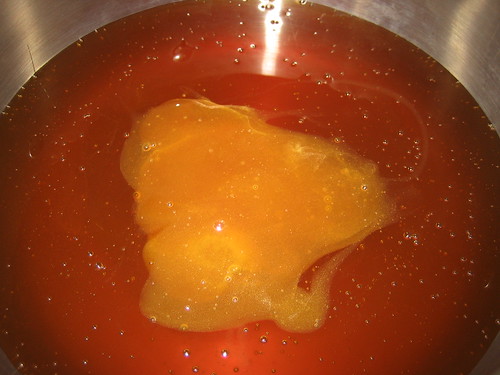
Top up with boiling water to approximately a gallon, leaving a little room so you can stir. Leave the mixture to simmer gently for a few hours, stirring every now and then to make sure the honey is blending in. Leave to cool for 30 minutes.
Top up with boiling water to approximately a gallon, leaving a little room so you can stir. Leave the mixture to simmer gently for a few hours, stirring every now and then to make sure the honey is blending in. Leave to cool for 30 minutes.
Place a sieve over your fermentation bucket and pour the mixture through into the bucket.

This leaves you with a bucket full of mead, and a sieve full of spicey bits.
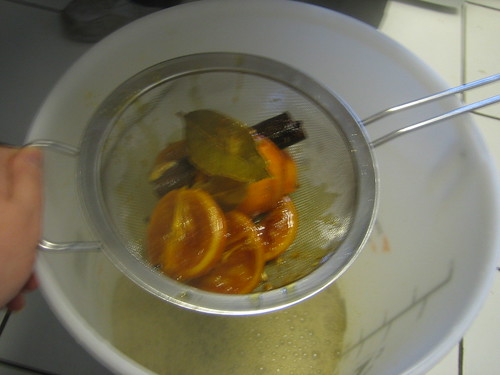
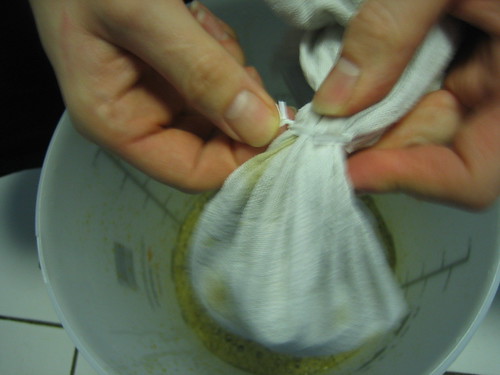
Empty the sieve into a muslin and tie it securely.

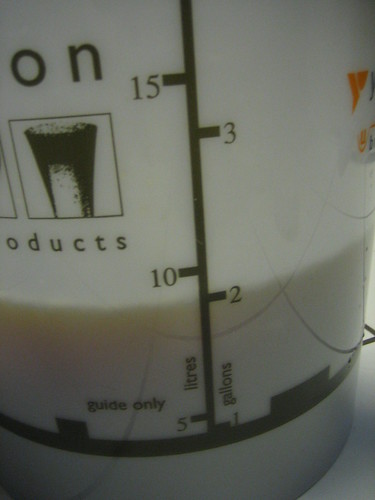
Keep your bag'o'spices to the side for a while and fill your bucket up to the 2 gallon mark with cold water. Test the temperature, if it's still quite warm leave it to sit with the lid on for a while. You need it to be at room temperature before adding the yeast.

Stir in 2tsp of yeast (1tsp per gallon) and place the spicy bag in. Close the lid securely.
Place somewhere warm and out of direct light or drafts. Ours lives under the sewing table in the front room (although from the amount of root beer, ginger beer, mead and brewing paraphernalia on the table it may be due a name change at some point ;) )
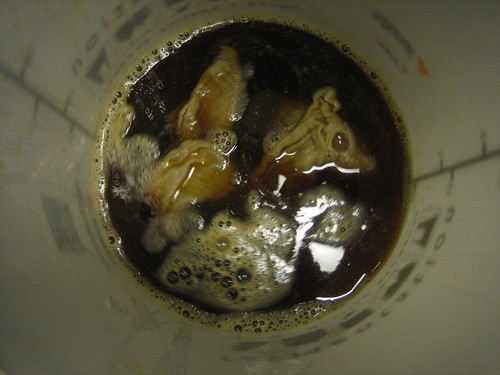
After 48 hours, lift the lid and check that the yeast is active. There should be frothing and some fizzing. Don't worry about the smell and cloudiness at this point, it does tend to smell a bit funky.
If there has been no frothing, fizzing, or the lid of the bucket hasn't 'domed' then it may be worth adding 1 more tsp of yeast and giving the whole mixture a good shake. Leave it for another 48 hours and then check again. If it's still not active, then your bucket may be in too cold a spot and will need relocating. Yeast needs to be at room temperature to be at its most active.
Once the yeast has been active, remove the muslin parcel and dispose of it then close the lid and leave for 4 weeks. Completely leave it, no poking, prodding, testing, touching, sniffing....nothing.
After 4 weeks, rack the mead into a different bucket. To 'rack' means to syphon the clear liquid away from the sediment at the bottom. With our first batch, we didn't have a second bucket so racked it into 2 litre pop bottles instead, this worked fine and was useful for checking the sediment at the bottom.
After 2 weeks, gently pour off a little taster snifter and be proud of yourself ;)
(We started drinking our first batch mead at this stage, because it is so very nice)
After another 2 weeks, rack off into another bucket again in order to leave the last of the sediment, leave to settle and then bottle up.
The flavour of the mead develops nicely if the bottle is thoroughly chilled before drinking.
ETA: Approximate costings, rounded up where needed. Some ingredients were purchased from other shops or were from our garden. Sainsburys used for comparison pricing only, other supermarkets exist and may or may not be cheaper/better/whatever ;)
13 x Sainsburys basic honey @ 68p = £8.84
1 x Sainsburys posh honey @ 3.99 = £3.99
Wilkinsons / Youngs Wine yeast 60g @ 1.68 -approx 1/4 used = £0.42
Sainsburys Cinnamon Sticks @ £1.47 - approx 1/5 used = £0.30
Sainsburys Cardomom Pods @ £1.19 - approx 1/10 used = £0.12
Sainsburys Cloves @ £0.77 - approx 1/10 used = £0.08
Sainsburys Black Peppercorns @ £1.36 - approx 1/10 used = £0.14
Sainsburys Bay Leaves @ £0.88 - approx 1/5 used = £0.18
Sainsburys Lemons x 4 @ £0.88 - 1/4 used = £0.22
Sainsburys Oranges x6 @£1.00 -1/2 used = £0.50
Total cost of ingredients = £ 14.79
Approximate cost per gallon (14.79/2) = £7.40
Approximate cost per litre ( 7.40/4.5) = £1.65
Approximate cost per pint is (7.40/8) = £0.93
Other equipment costs;
Fermentation Bucket - Wilkinsons £9.99
Wilkinsons Strainer/Sieve - £1.75
Muslin Cloths - Ebay x 12 £8.91


This looks amazing! How did it turn out?
ReplyDeleteReally well! We've made several batches since and still use this recipe :)
Delete