Hi, my name is Dawn, I'm 33yrs old and I have never ridden a bicycle.
Not knowing how to ride a bike is something that has partly defined me for the whole of my life. It's just one of those things that crops up repeatedly and I have to explain yet again that no I don't know how to ride, I never learnt as a child, blah, blah, blah. I am very bad at doing things that I'm not very good at, I avoid situations that embarrass me and do my best to ignore things that make me feel silly.
Anyway, I saw this course advertised via twitter this week - http://www.leics.gov.uk/connect2_events and I emailed to be put on the waiting list.
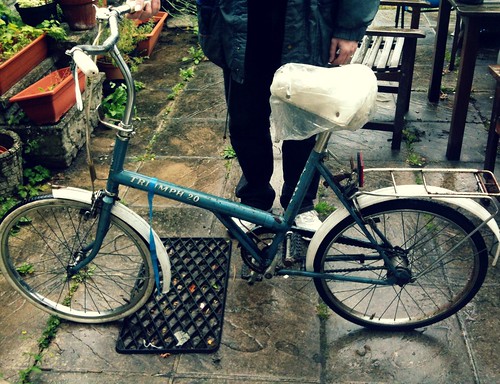
In the meantime I'm going to try and teach myself with the aid of the internet, a husband who promises not to laugh too much and this
Monday, 30 May 2011
Wednesday, 11 May 2011
Nobody loves me, everybody hates me
I'm going out to eat worms!
Blugh! Not really, but I have got a wormery. The wormery bin itself was gifted on freecycle. I had a quick google and saw that one of my favourite companies www.wigglywigglers.co.uk still sold the rescue kits for this type of wormery even though the unit itself was discontinued.
That made my life a whole load easier ;)
So here's the photo by photo breakdown of putting a wormery bin together using a rescue kit.
Soak bedding block in some water for 20 mins.
In the meantime, pop your drainage chips in the bottom of the bin
Place the woven liner on top, just like a binbag
Grab some food waste for their first meal
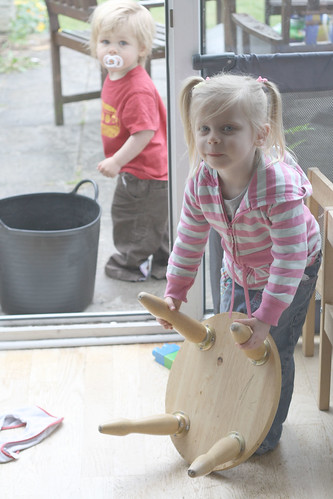
Make sure your helpers are watching
Make sure your liner is spread out at the bottom of the bin
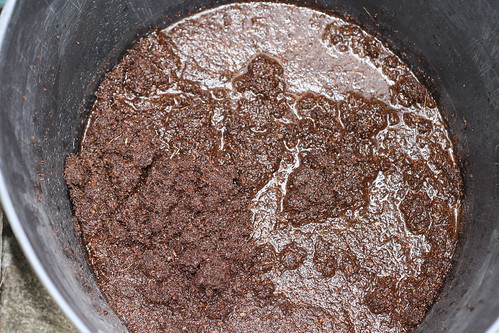
and add the bedding block which should now look a bit like this
Open up your package of worms
Allow small person to stroke them and say hello
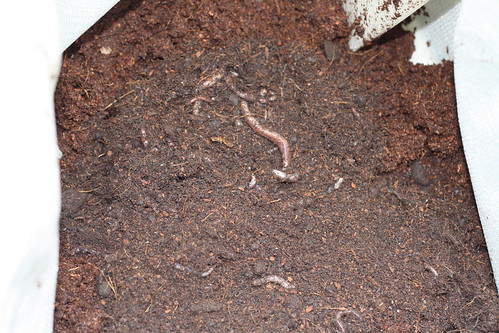
Make a hollow in your bedding layer and tip the worms in
Chuck your food waste on top, about a 3 inch layer
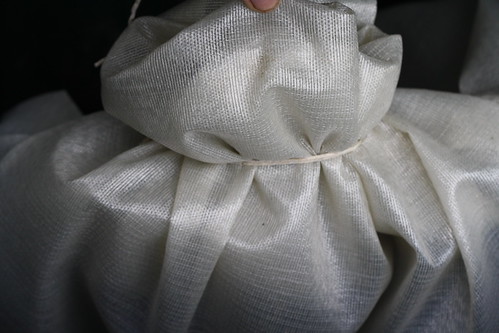
Fold over the top of the liner and tie off
Keep it like this for a week to keep the worms secure while they make a home for themselves. In a week I'll open it up, feed them again and pop a moisture mat on top. The liner can then be kept untied and the worms should live happily in the bin.
I'll take more photos and update in a week :)
Subscribe to:
Comments (Atom)

