Sunday, 21 November 2010

Stirring It Up

Today we made Yule Puddings. I used a plum pudding recipe from Mrs Beetons Christmas Book and Abi helped.

Rich Boiled Christmas Pudding

200g plain flour
pinch of salt
1 x tsp ground ginger
1 x tsp mixed spice
1 x tsp grated nutmeg
50g chopped blanched almonds
400g soft light or dark brown sugar
250g shredded suet
250g sultanas
250g currants
250g raisins
200g mixed peel
175g 1 day old breadcrumbs
6 eggs
juice of 1 orange
80ml stout
4 x tbsp brandy
100-150ml milk
fat for greasing


Grease 4 x 600ml heatproof basins.

Sift together flour, salt and spices and add all other dry ingredients.

Beat together eggs with the stout, orange juice, brandy and 100ml of the milk.

Stir this into the dry ingredients until you get a soft dropping consistency, add more milk if required.

Fill the basins leaving 1 inch at the top for the puddings to expand. Cover with greased paper and tie securely with string.

To 'half-steam' get a large saucepan, place an old saucer or plate upside down and oplace the basin on top. Add water till halfway up the side of the basin. Cover the pan with a tight fitting lid and simmer gently for 6-7 hours.

Remove puddings and leave to cool completely. Cover with clean dry cloths, wrap in greaseproof paper and store in a cool place.


Friday, 12 November 2010

Basic Chutney Recipe with variations

This is my base recipe that I tweak depending on what ingredients are in season.

2 tbsp olive oil
1lb roughly chopped onions
2 large red peppers, cored, seeded & roughly chopped
1 garlic clove, crushed
1 tsp ground allspice,
1 tsp ground ginger,
1 tsp paprika
1 tsp salt
2 lb ripe tomatoes, peeled & roughly chopped
1 lb sugar
300 ml vinegar (malt, white or red wine, or plain white – depending on taste, dietary restrictions)


Add all ingredients to heavy bottomed pan, cook on a medium heat at a lively simmer, stirring regularly, until the chutney is ready. You’ll know when it’s ready to go as you can drag a spoon through the mixture creating a channel that takes a while to fill back up.

Ladle into sterile warm jars. Cover and leave to cool. Label and store in a dark place for 6-8 weeks before use. The longer it has to mature, the nicer the chutney.

Once open keep refrigerated and use within a couple of weeks.


  • For chilli chutney I add a handful of chopped and deseeded chillies.
  • For very hot chilli chutney, I keep the seeds in ;)
  • For plum chutney, substitute stoned and peeled plums for the tomatoes.
  • For onion chutney, double the onions and halve the tomatoes.
  • For onion relish, triple the onions, leave out the tomatoes and use a blender to get a smoother consistency.
  • For apple chutney, replace the tomatoes with 3lbs of apples and add a handful of raisins.

Wednesday, 10 November 2010

Freecycle Hacking

I am incredibly lucky to be part of a generous recycling community where I live. I'm a member of Freegle, Realcycle and Freecycle and anything we no longer have a use for is offered on the sites. I also put requests out for items such as baby food jars for my preserves, empty beer bottles for our mead etc.

Our house is filled with items from freecycle, our sofas, storage, dining table and chairs, filing cabinets, slide, swing set, garden swing seat, wardrobes, children's toys...the list goes on. If I see an advert for an item I like, I send a polite reply stating my contact information and when I would be able to collect. I also include a link to this blog in my email signature so people can see the items will be put to good use.

Although the majority of freecyclers are friendly individuals, there are also plenty out there who are rude, ignorant and pretty greedy. I have had some strange requests, and every advert posted brings it's own weird and wonderful characters.

One of the reasons we are so lucky on freecycle is that we're willing to take items that need a bit of fixing up, the play kitchen for Abi's christmas present last year for example.

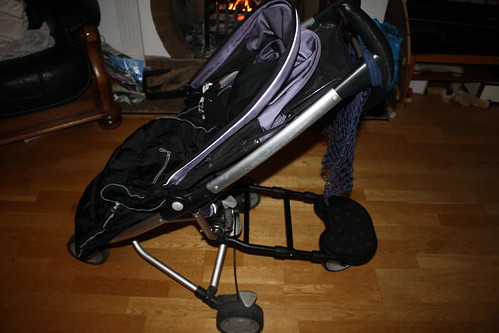
This week, I managed to be gifted a Quinny Zap pushchair. It's perfect for me as it's small for the buses and playgroup corridors, lightweight, sturdy and it's purple ;). The only problem with it is one of the side catches doesn't quite lock but the pushchair is functional and safe.

The other issue is that although Abi walks pretty much everywhere, she gets tired on long walks and we use a buggy board so she can rest awhile. The old generic buggy board we used was rickety and liable to fall off when going over kerbs and our nice buggy board was a brand specific one for our Mutsy offroader buggy.

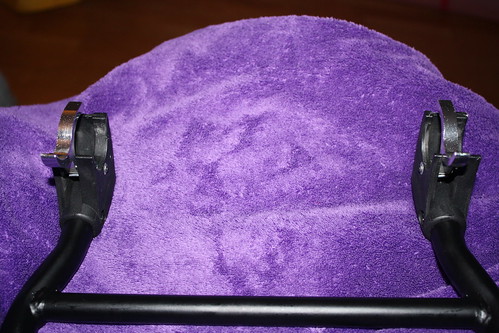
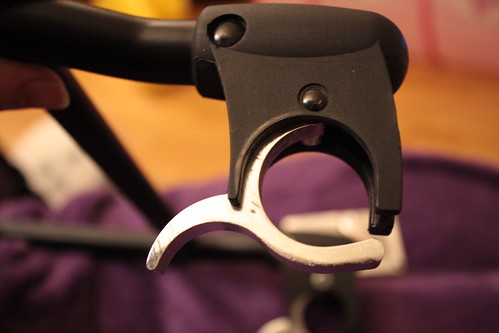
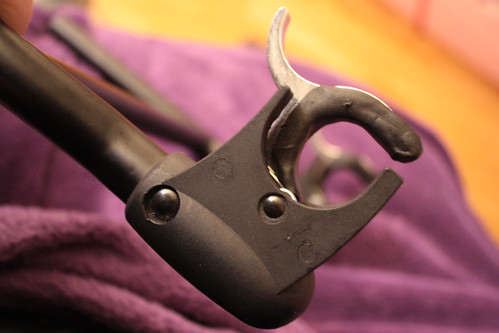
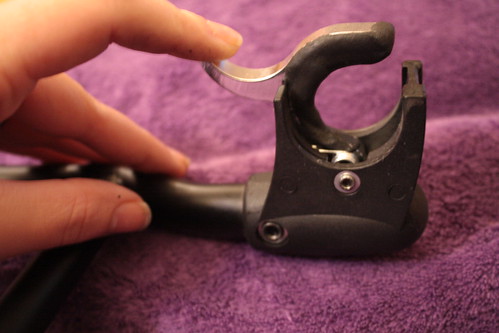
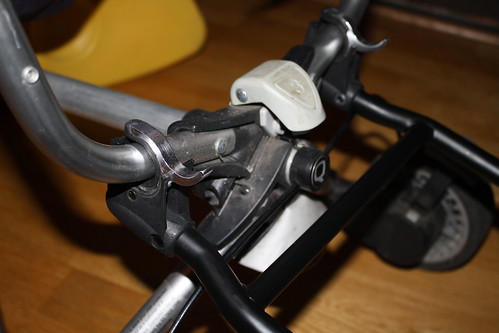
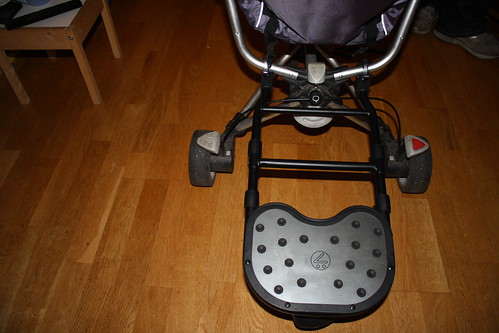
After a good luck at the underneath of the buggy, we thought that the Mutsy board might just be usable so we thought we'd try and give it a go. After trying it on for size, we realised that the only way to get it connected safely would be to turn one of the connectors upside down in order to keep the board level. So we flipped it over and drilled a hole in one side to enable the poles to lock into position upside down. This worked near perfectly but the board attachment clips were a little loose on the buggy. We needed something to help them grip slightly but still enable me to take them on and off quickly as I suffer with carpal tunnel and have problems with my grip.

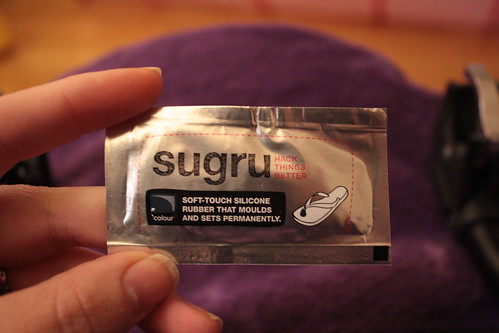
We decided to try some sugru on them and it worked brilliantly. Sugru is silicone, but it's like playing with plasticine. You can mold it onto whatever shape you want, stick it to something, leave it to cure and voila. There are lots of great sugru hacks on their blog over at http://sugru.com/blog/ (Hack is the term the sugru makers use for their product, so anybody who wants to argue about the use of the word in my title should shush now ;) )

Here are some photos of the Buggy Sugru Hack

Buggy Board Hack

Buggy Board Hack

Buggy Board Hack

Buggy Board Hack

Squishy

Buggy Board Hack


Buggy Board Hack

Buggy Board Hack

The sugru has a little bit of give to it which adds to the grip as it connects to the buggy.

Buggy Board Hack

Buggy Board Hack

Tada. A buggy that is perfect for our family and one less item going to the tip.

Buggy Board Hack