Thursday, 28 January 2010

And so it begins

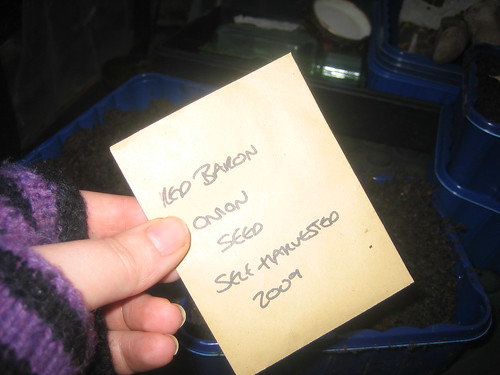
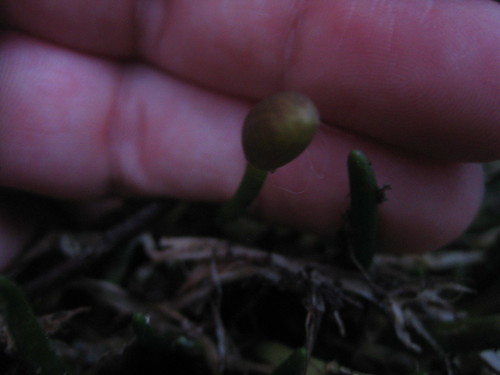
The first onion seed peeping through. This is from one of the self harvested red baron seeds :)

Whoop


- Mobile post

Saturday, 23 January 2010

Starting Over Again

This weekend was the first time in about 3 months that we were able to spend any decent length of time in the veg patch. The harsh weather for the past month or so has really taken it's toll on the greenhouse, but we're not going to be able to get that fixed up for a fortnight-ish. In the meantime, we've raked up the leaves, cleared the raised beds, planted out garlic, sorted out the herb bed and started off some onion seed/sets.

Here's the photo dump from today;


Toby keeping a close eye on Daddy
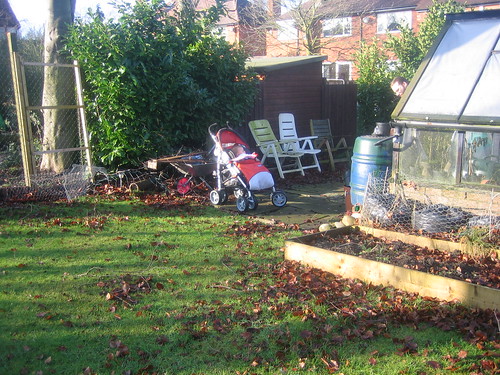
IMG_5807


My poor tattered little greenhouse.

IMG_5808


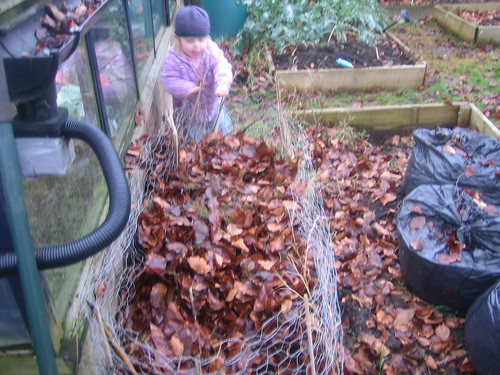
Abi helping clear leaves.

IMG_5809


View of the back bed, and the ton of soggy leaves everywhere.
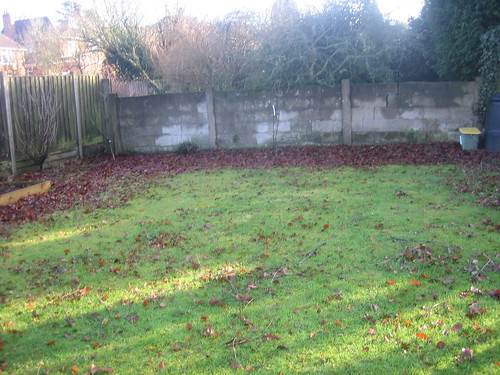
IMG_5811


Side bed - this is where we'll be container growing this year.

IMG_5812


A closer view of my tatty greenhouse :(

IMG_5813

Inside is not pretty

IMG_5814


The remnants of the chilli bed.

IMG_5816

Garlic growing from last years cloves :) They must have escaped being harvested...and nommed.
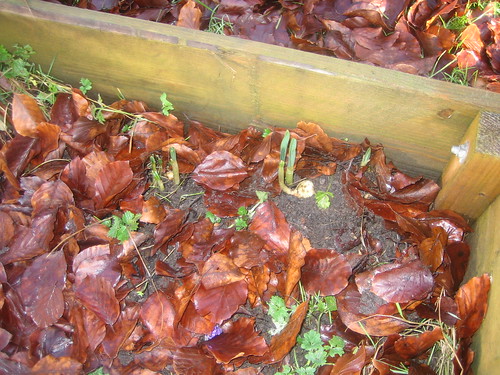
IMG_5817


IMG_5818


Abi helping clear leaves from the lavender bush. The blackberry runner we planted seems to be still going too :)

IMG_5819


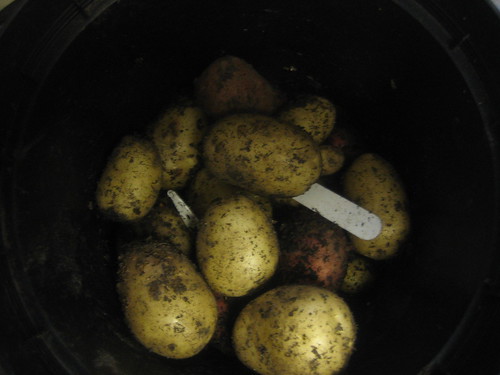
Digging up the secret potatoes. They'd died off ages ago so we hadn't held out much hope.

IMG_5820


We were pleasantly surprised :)

IMG_5821


The old cabbage bed being cleared for garlic.

IMG_5822


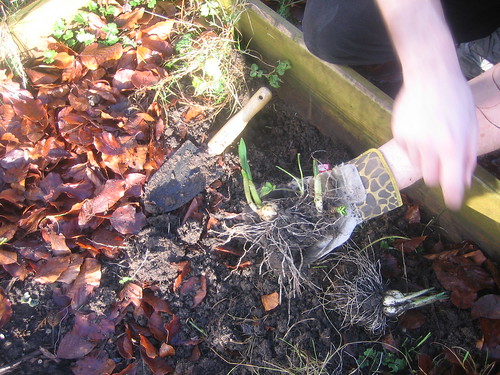
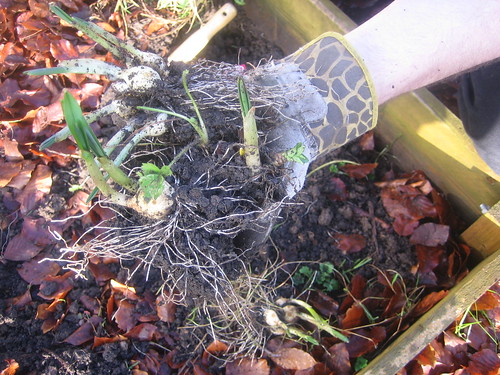
The garlic cloves being dug up from their old bed and moved.

IMG_5823


IMG_5824


IMG_5825


IMG_5826


Slide break.

IMG_5827


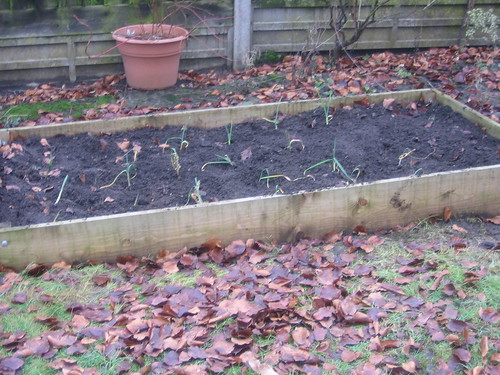
The new garlic bed.

IMG_5829


Soggy leaves going into the leaf bin.

IMG_5831-1


Abi helping :)

IMG_5832

Just keep raking raking raking...

IMG_5833

Toby wondering why I'm not raking

IMG_5834

I explain about the blog

IMG_5835

He likes this

IMG_5836

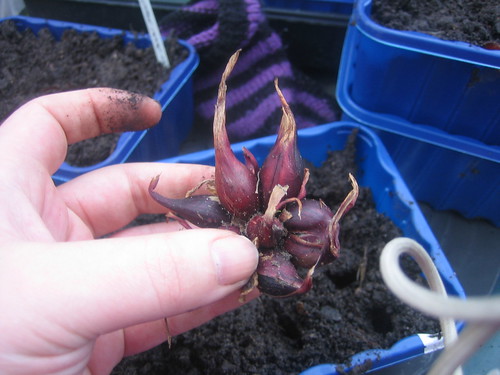
Planting random onion bits. A bit of a trial as to what grows first...or at all...
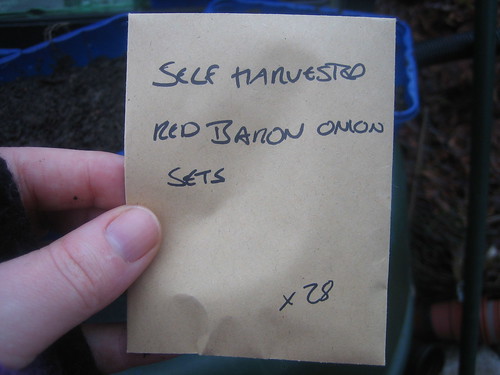
IMG_5837


IMG_5838


IMG_5839


IMG_5840

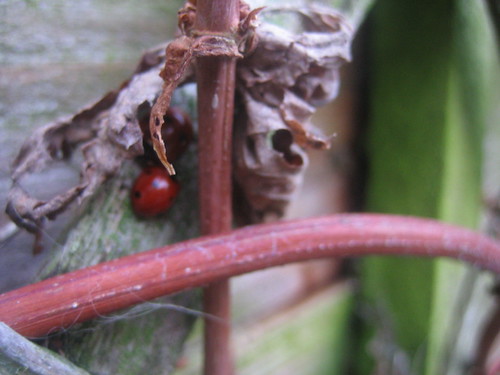
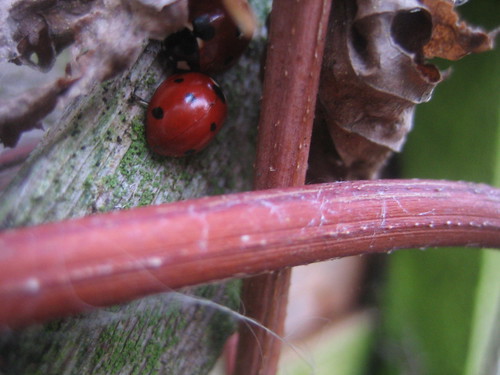
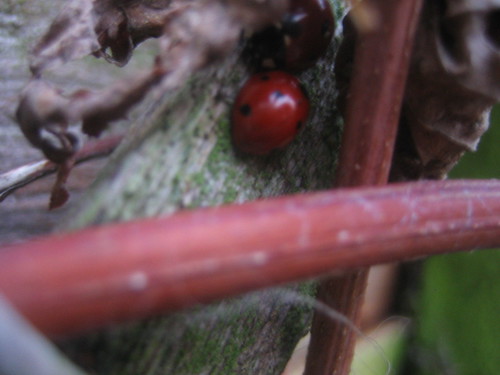
A ladybird house discoverd under the hops. We were going to remove all the dead hopvines, but have left them in situ until we put some ladybird houses up and can relocate them.

IMG_5841


IMG_5844


IMG_5845


IMG_5847

Abi playing 'let's poke Mum with a big stick'

IMG_5850


This is apparently lots of fun

IMG_5853


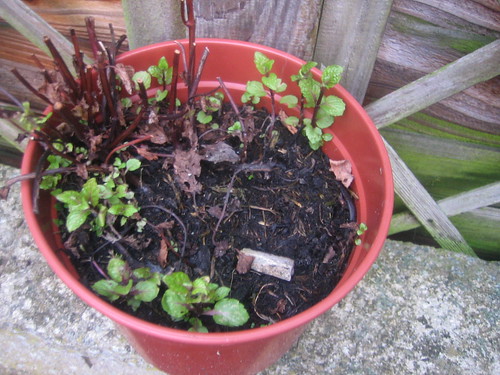
As is the peppermint.

IMG_5858

The hop vines, we chopped them about 6 inches from the base.

IMG_5860


The random onion trial on the kitchen windowsill. The first of many things started off on there this year

IMG_5861-1


The oregano plant still surviving...just.

IMG_5864

A tiny sprig of rosemary still going.
IMG_5865


A bud on my chive plant already?

IMG_5867

My sage not looking very healthy, will need some TLC this year
IMG_5868

My very healthy olive plant,really glad this did ok with the snow.

IMG_5870

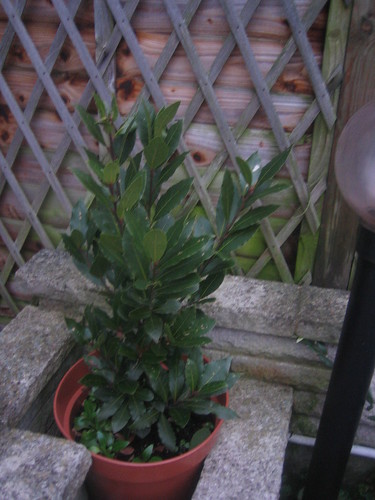
Bay Tree still about the same, I think this might need a bigger pot to get it going.
IMG_5871

A close up of the secret potatoes

IMG_5872

They went very nicely with some butchers faggots, onion gravy and some peas. Nom!
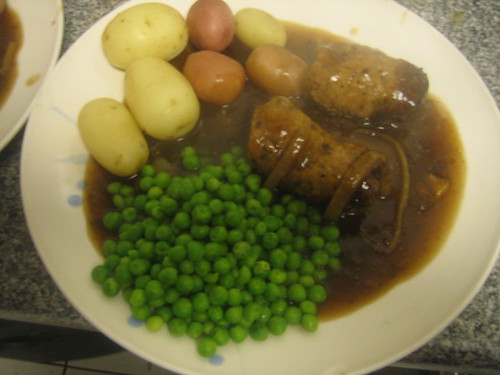

IMG_5873

So that's the catch up, busy weeks ahead of us now. New raised beds to go in, the greenhouse to fix up again and a whole lot of growing to do :)


Tuesday, 5 January 2010

Basic Bread Recipe

This recipe is lucky enough to be featured in a recipe book produced by a good friend of mine in aid of SANDS. You can read more about the book here and buy it from here

This is my base bread recipe which I amend to suit my needs. I bake fresh every 2 days, and this quantity makes 1 x 2lb loaf and 8 large soft bread rolls. There is a flickr slideshow at the bottom of the page which shows each step :)

1kg strong bread flour,
1 sachet quick start yeast,
15g salt,
up to 600ml lukewarm water,
1tbsp veg oil
1 yeast starter (more info on this later)

Mix all dry ingredients then add water gradually until the dough comes together without being too wet. The dryer the dough whilst being cohesive , the easier it is to knead. Knead for 10 mins until dough is elasticy. The kneading is the most important part as this develops the gluten which gives a good loaf it's texture. If you skimp on the kneading then you'll end up with a brick ;)

I've started using the slap and fold kneading technique which works a treat and amuses the kids at the same time. Ten minutes of this type of kneading gives you lovely elastic satiny dough.


Before you leave the dough to rise, pinch off a little bit (about a tbspsworth) and put in a sealed pot in the fridge to keep for a starter next time

Roll dough into a rough ball and place in a lightly oiled large bowl, cover tightly with clingfilm and put a tea towel over - or cover with a cloth and then a binbag, leave in a warm draught free spot for approx an hour and a half (may take longer)till doubled in size.

**If you have the time, knock the dough back and place back into oiled bowl and leave to prove again. This helps the gluten to develop and gives a nice texture to the end crumb. I sometimes do this 2 or 3 times before shaping into loaves. It' s not necessary though and a single proving will work lovely**

Knock air out and shape into loaf and rolls. Cover loaf with a cloth and leave for 45 mins while heating oven to 200. If making soft rolls cover with clingfilm (I reuse the clingfilm from the bowl) and then a cloth. This helps to keep the dough moist. They should double in size again.

Remove cloth and clingfilm and cook at 200 for 15 mins. I cook rolls on the bottom shelf and the loaf on the middle. Remove rolls now and place on cooling rack, turn heat down to 150 and give loaf another 20 minutes. Loaf should sound hollow when knocked on the bottom.

Leave to cool for 30 minutes at least before slicing.